
In this guide
This is my clean and simple method for dumping yeast from a pressure fermenter without losing pressure, oxidising your beer or making a mess. It keeps the beer under pressure, protects flavour and gets your fermenter ready for the next step — cold crash or kegging.
The short version
- When: after the cold crash, before packaging
- Hold pressure: set the spunding valve before you open anything
- Dump: open the valve slowly, close it when clearer beer shows in the sight glass
- Why: no autolysis off-flavours, clean transfers, clearer beer in the keg
Why dump yeast under pressure?
- Prevent autolysis: compacted yeast sitting under finished beer for too long can break down and release harsh, meaty, rubbery or sulphur-like off-flavours.
- Cleaner keg transfers: removing the yeast cone before packaging prevents yeast plugs from being sucked into dip tubes or hoses during closed transfer.
- Less sediment in the keg: a quick dump after cold crash means clearer beer from the first pour without a thick yeast layer settling in the keg.
- Better flavour stability: reducing contact with old yeast and trub helps the beer stay fresher for longer, especially if it's stored for weeks.
- Faster cleaning: with most of the yeast already gone, post-transfer CIP is quicker and easier.
- More stable pressure: a smaller yeast cone minimises sudden CO₂ releases and keeps pressure steady during closed transfer.
Watch the full yeast dump walkthrough
In this video I show the full workflow: sanitising the hardware, controlling pressure with a bunging valve, using a sight glass to watch the flow and dumping the yeast straight into a tray.
Want to share your own routine or see how others do it? Join the discussion under the YouTube video. Open video on YouTube
My step-by-step yeast dump routine
Step 1 – Sanitise everything
Before opening anything, sanitise the dump valve, reducer, hoses and fittings with Chemipro San. A power sprayer makes it fast and even.
Step 2 – Install the dump line
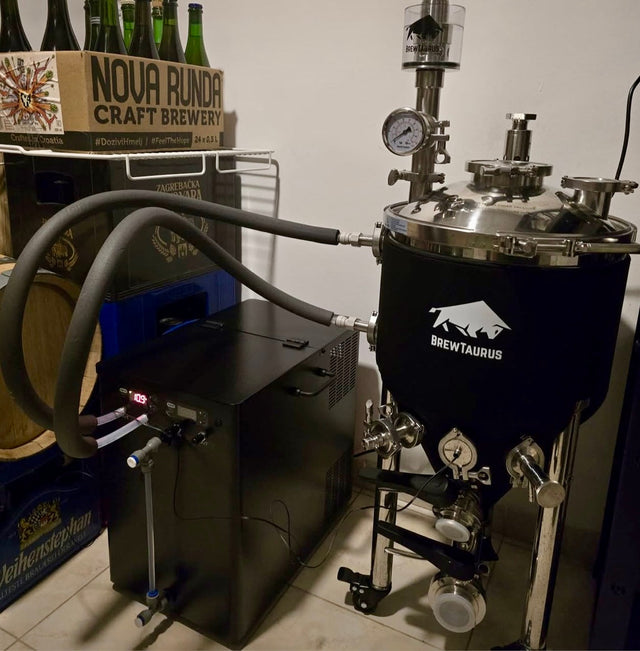
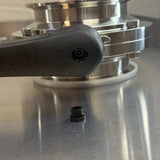
Fit the reducer and sight glass to the dump port, then connect the hose kit down to the steel tray. Make sure all Tri-Clamps are tight and secure.
Step 3 – Control pressure
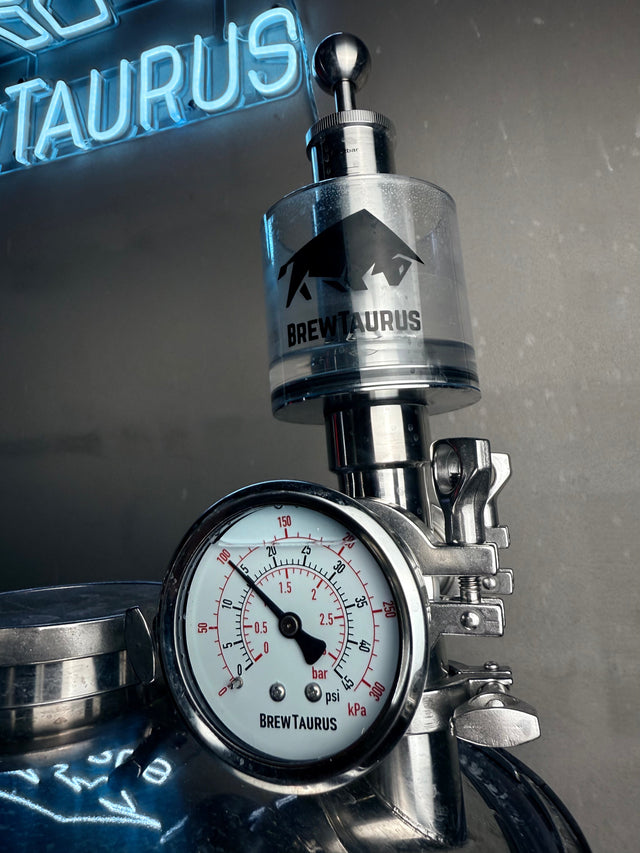
Set your bunging valve to the pressure you want to hold. This prevents foam-outs or sucking in oxygen when you open the valve.
Step 4 – Open the dump valve slowly
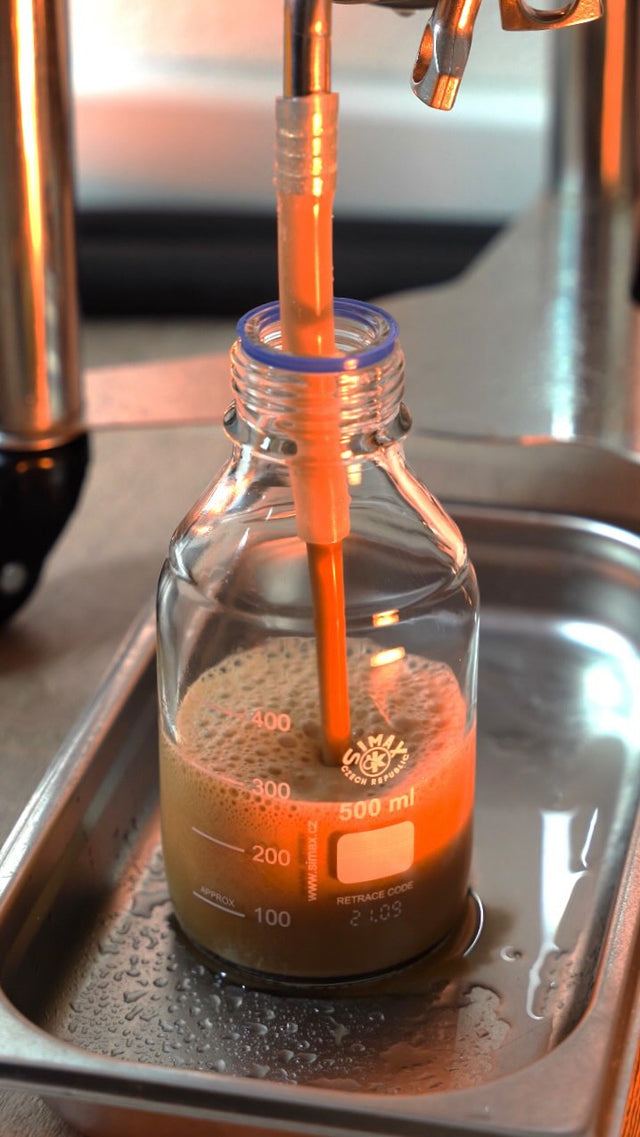
Crack the valve open and watch the sight glass. Thick yeast and trub will flow first. Close the valve as soon as clearer beer appears — the goal is to remove the heavy layer, not drain half the tank.
Step 5 – Clean up and move on
Rinse the fittings, clean the tray and the hose, and you're ready to maturating.
When should you dump yeast?
- Mid-fermentation: right after krausen drops — removes trub and early-settling yeast.
- Late fermentation: helps clean up the cone before conditioning.
- After cold crash: removes the compacted yeast cone before packaging, prevents yeast plugs during closed transfer and gives you clearer beer in the keg.