How Pressure Fermentation Works – A BrewTaurus Guide
Share
How Pressure Fermentation Works – And Why It’s a Game-Changer
At BrewTaurus, we’re always experimenting with ways to brew smarter and better. One of the biggest upgrades we’ve made in the last year? Pressure fermentation. It’s a technique that’s becoming increasingly popular among homebrewers – and for good reason.
I’ve brewed many batches under pressure over time, and the results are just... different. Cleaner. Faster. More consistent. Let’s break it down.
🧠 What Is Pressure Fermentation?
Normally, when you ferment beer, CO₂ produced by the yeast is allowed to escape through an airlock or blow-off tube. But when you ferment under pressure – typically between 10–15 PSI – you allow the CO₂ to build up inside the vessel.
That pressure suppresses ester and fusel alcohol production, leading to a cleaner-tasting beer. It's especially useful when fermenting at slightly higher temperatures or with expressive yeast strains.
✅ Why Use Pressure?
- Cleaner flavor profile – fewer esters and off-flavors
- Shorter fermentation times – higher temps without the drawbacks
- Naturally carbonated beer – save time before packaging
- Less oxygen exposure – closed-loop system = more stable results
- Dry hop under pressure – minimal oxygen pickup
🧪 When to Apply Pressure?
It’s important not to seal your fermenter right from the start. Early in fermentation (lag phase), yeast needs oxygen and a low-pressure environment to multiply and build healthy cell walls. Applying pressure too soon can stress the yeast and lead to sluggish or incomplete fermentation.
That’s why we recommend waiting until active fermentation is clearly underway – typically once gravity has dropped by 5–10 points (about 2–4° Plato), showing that fermentation has shifted into high gear.
📈 Pro tip: Track your gravity curve with a RAPT Pill. Apply pressure once you see a steady gravity drop – usually around day 2–3, depending on yeast strain and fermentation temperature.
⚠️ Risks and Common Mistakes
| Mistake | Result | Tip |
|---|---|---|
| Closing too early | Yeast stress or stalled fermentation | Wait for gravity to drop at least 5–10 points |
| Too much pressure | Loss of aroma, slow fermentation | Stay within 10–15 PSI (0.7–1 bar) |
| Pressure-sensitive yeast | Muted esters, loss of style character | Use appropriate strains or reduce pressure |
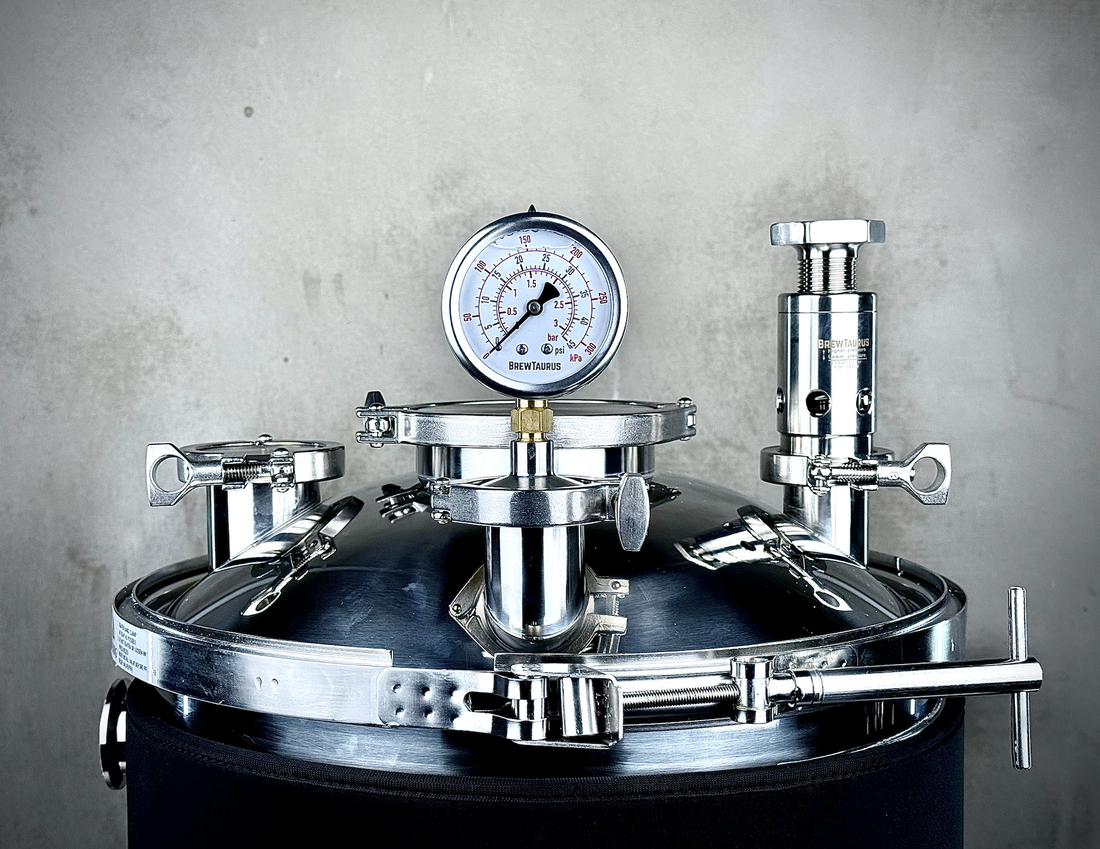
| No spunding or PRV | Safety risk, overpressure | Always use a spunding valve or PRV |
🔍 Choosing the Right Gear
You can start with a PET fermenter and pressure lid. But if you’re brewing regularly, upgrading to a stainless steel pressure fermenter like our PF series is a game-changer. Stainless fermenters are safer, easier to clean, and built to last a lifetime.
Tip: Our PF range combines double-walled insulation and pressure capability – perfect for clean, consistent results year-round.
🧠 My BrewTaurus Tips (from Dan)
- We usually apply pressure (~10 PSI) 36–48h after pitching lager yeast, once visible activity kicks in.
- For NEIPAs, around 12 PSI helps with vibrant hop aroma retention without oxygen exposure.
- One time I pressured a Hefeweizen too early – lost all its banana/clove character. Timing matters more than you think!
🔧 Busting Pressure Fermentation Myths
- “Plastic fermenters are good enough” – Not quite. Sure, plastic can get you started, but a stainless fermenter is forever – no cracks, no stress, no need to upgrade later. Investing once in a FlexiTaurus means you're set for life.
- “It’s just for lagers” – Wrong. Pressure fermentation works beautifully for IPAs, stouts, Kveiks, and more!
- “It’s expensive” – Not really. You can start simple, but upgrading to quality gear like stainless pressure fermenters quickly pays off with better results and long-term value.
We’re brewing under pressure more and more here at BrewTaurus – not just for lagers, but for juicy IPAs and crisp pale ales too. Whether you’re just starting out or levelling up your brewing game, pressure fermentation can truly transform your beers.
– Dan, Founder, BrewTaurus
![*PRE-ORDER* PF80 PRO Unitank +[Extra accessories]](http://brewtaurus.com/cdn/shop/files/IMG_4235.heic?v=1757688789&width=533)
![PF160 PRO Unitank +[Extra accessories]](http://brewtaurus.com/cdn/shop/files/IMG_4223.heic?v=1757688734&width=533)

![PF30L Jacketed Conical Fermenter +[Extra accessories]](http://brewtaurus.com/cdn/shop/files/IMG_0853.heic?v=1751879296&width=533)